


Setting Up React Development Environment & Best Development Environments Compared
-1.png)


Why a Good Development Environment Matters
- Boost Productivity: Help you work faster and more effectively.
- Improve Collaboration: Make it easier to work with others.
- Catch Bugs Early: Allow you to find and fix issues before they become big problems.
- Enhance Code Quality: Tools like linters and formatters help maintain coding standards, resulting in cleaner, more maintainable code.
Step-by-Step Guide
1. Prerequisites
Before starting with React development, you need a couple of tools:
React relies on Node.js, and you’ll use npm (Node Package Manager) or Yarn to manage packages.
-2.png)
Download Node.js and install it.
npm is included, but you can install Yarn separately if you like. After installation,
check your versions by running:
node -v
npm -v
2. Create a New React App
Creating a new React app is straightforward with Create React App (CRA). You can do this in two main ways: by using npx or by installing Create React App globally. Each method comes with its advantages and disadvantages, allowing you to choose the one that best fits your workflow.
.png)
i. Using npx
To create a new React app with npx, run the following commands
npx create-react-app my-app
cd my-app
npm start
Advantages of Using npx:
- Latest Version: Always use the most recent version of Create React App.
- No Clutter: No need for global installation, keeping your system clean.
Disadvantages of Using npx:
- Slower Initial Run: The first run may be slower as it downloads the package.
- Internet Required: An internet connection is needed each time you create a new app.
ii. Global Installation
Alternatively, you can install Create React App globally:
npm install -g create-react-app
create-react-app my-app
cd my-app
npm start
Advantages of Global Installation:
Faster app creation since it’s already on your system.
Disadvantages of Global Installation:
- You might forget to update it, leading to inconsistencies.
- Your system can get cluttered with too many global packages.
Both methods will create a new React project with a fully configured development environment, including Webpack, Babel, and a development server with hot-reloading.
3. React Developer Tools
To debug effectively in the browser, install the React Developer Tools extension for Chrome or Firefox. This tool allows you to:
Inspect Component Trees: View and debug your React components.
See Current State and Props: Easily check the state and props of your components.
Visualize Re-renders: Analyze how your components update.
Check Performance: Use Lighthouse to evaluate your web app’s performance score, which shows how fast your site loads and how well it performs in areas like accessibility and SEO.
Manage Redux Store: If you’re using Redux, this tool helps you inspect and manage your Redux store.
4. Linting and Formatting
Setting up code linting and formatting ensures your code is consistent:

ESLint: Helps catch common mistakes early. Add it with: npm install eslint eslint-plugin-react --save-dev
Prettier: Automatically formats your code. Install it with: bash npm install --save-dev prettier eslint-config-prettier eslint-plugin-prettier
You can also find Prettier extensions for your code editor to streamline your workflow.
5. Version Control with Git
Using Git is essential for managing your code and collaborating with others.

To set up a Git repository, run:
git init
You can use platforms like GitHub or GitLab to host your code and work with your team.
6. Hot Module Replacement (HMR)
React’s hot module replacement allows you to see changes in the browser instantly without a full page refresh.

This feature is built into Create React App, but you can also use tools like Vite for even faster updates.
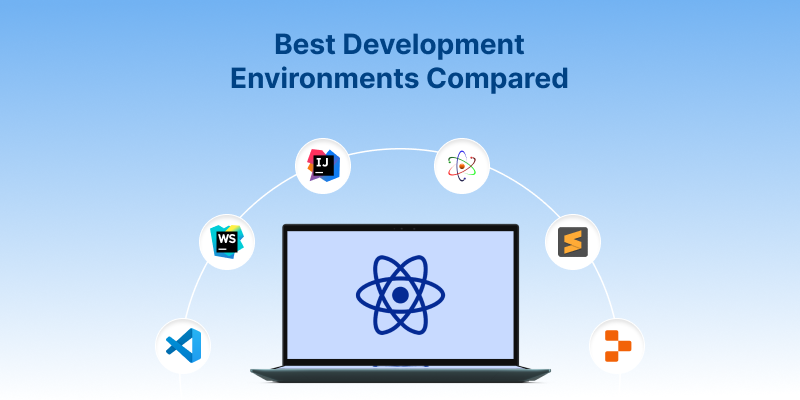
7. Setting Up Your Code Editor for React Development
While any text editor can work, using a dedicated code editor tailored for React development can significantly improve your productivity and coding experience. Here’s a look at some of the Best Code Editors and Development Environments for React :
Pros: Free, open-source, and highly customizable with a wide range of extensions specifically designed for React, such as Prettier (for auto-formatting), ESLint (for error detection), and React Snippets (to streamline coding). It includes a built-in terminal and Git integration, making it a versatile choice for many languages.
Cons: Performance may slow down with too many extensions, and initial setup to optimize for React workflows can take time.
Ideal For: Developers looking for a flexible, free, and powerful editor, especially for React and other modern frameworks.
Pros: A paid IDE with built-in support for React and JavaScript, offering intelligent autocompletion, debugging, and refactoring tools. It also supports other frameworks like Vue and Angular, making it ideal for larger projects.
Cons: It’s a paid tool and can be resource-heavy compared to lighter editors like VS Code.
Ideal For: Developers working on large-scale React projects who need advanced features and built-in support.
Pros: Known for its robust smart code completion, powerful debugging, and refactoring tools, IntelliJ IDEA supports multiple languages beyond Java, making it a comprehensive tool for full-stack development.
Cons: It’s resource-intensive and can be complex for beginners to navigate due to its wide range of features.
Ideal For: Developers looking for an all-in-one IDE with support for multiple technologies and languages.
Pros: Free and open-source with many customizable packages that can be tailored to React development. Atom is great for developers who enjoy full control over their coding environment.
Cons: Atom can be slower with large projects and doesn’t offer the same performance or robustness as some of the other editors on this list.
Ideal For: Developers who prefer open-source tools and are working on smaller or medium-sized projects.
Pros: Lightweight, fast, and designed with a minimalist interface, Sublime Text is great for quickly editing and writing small scripts.
Cons: Requires plugins to add React support and is paid for continued use after the trial period.
Ideal For: Developers who prioritize speed and simplicity, particularly for smaller projects.
Pros: A browser-based editor with no setup required, Replit allows real-time collaboration and supports quick prototyping from any device. It’s perfect for learners or quick development.
Cons: Limited customization options and better suited for small-scale projects or learning environments.
Ideal For: Developers looking to quickly prototype or collaborate in real-time, especially for educational purposes or small experiments.
FAQ's
Conclusion
Following best practices is crucial for an efficient React development environment. Organizing your project structure, using version control with Git, and maintaining consistent coding standards can greatly enhance your workflow.
For most developers, VS Code is the top choice due to its flexibility and user-friendly features. WebStorm is excellent for larger projects, offering advanced tools that streamline development. If you prefer lightweight options, Sublime Text and Atom are great for speed and simplicity, while Replit is ideal for quick prototyping and collaboration.
Experiment with multiple setups to find the one that suits you best. Happy coding!
 WhatsApp
 Call Us
 Mail Us